
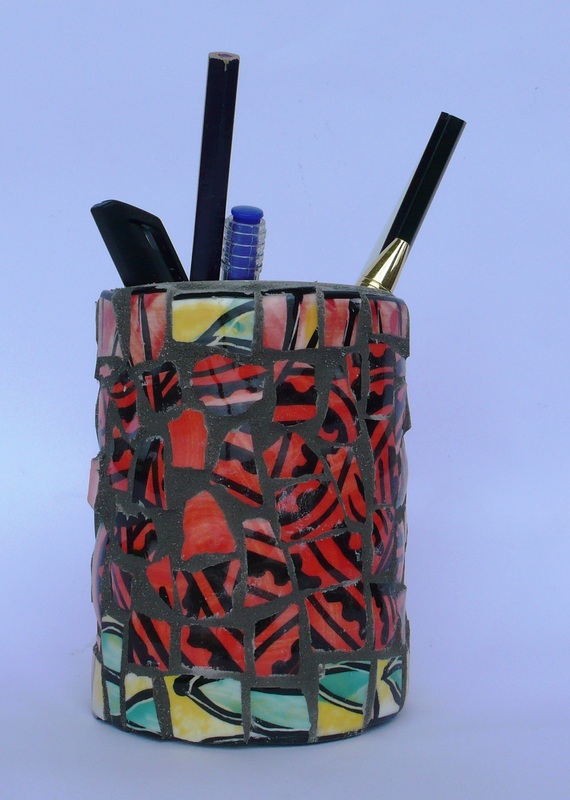
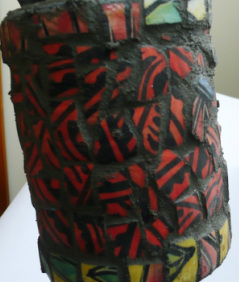
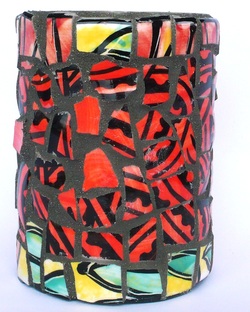
PENCIL HOLDER
This easy mosaic project is suitable for kids of all ages and very handy.
Materials
Empty cans
Glass nuggets, glass tiles, ceramic tiles, beach glass, old china (I used an old cup)
Small paint brush or ice block stick for spreading the glue
Tile paste
Grout
Empty cans
Glass nuggets, glass tiles, ceramic tiles, beach glass, old china (I used an old cup)
Small paint brush or ice block stick for spreading the glue
Tile paste
Grout
|
Instructions
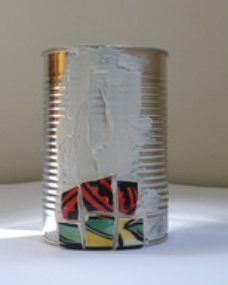
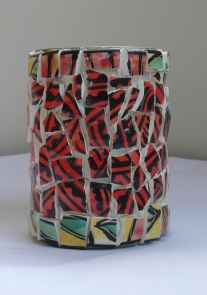
Before you begin you may want your kids to draw a rough design on paper or directly on the can encouraging them to play with design and colour. Place your china or tiles in a plastic bag, wrap the plastic bag in an old cloth. Now for the fun part - Take the bag outside and with a hammer smash the tiles until you have quite small pieces. Spread the tile paste onto the can in small sections - use just enough to ensure the beads or tiles stick but not so much so that glue squeezes up and over the beads or tiles. Try to keep the tiles as close together as possible because the final product will look better. |
|
|
Once completed leave to dry for 24 hours. Now its time to grout your piece. Here's How to Mix and Apply Grout You will need: Powered grout Water A container – I find that a round plastic bowl works best A dust mask and gloves A stirring tool – an old spoon is good A spreading tool – depending on your mosaic – if it is flat then you can use a squeegee – if it is not flat then use a sponge or your fingers but be sure to protect them with gloves. Foam sponges Soft cloth Newspaper to spread over your working area Bucket with water to rinse out the foam sponges |
|
1. Prepare – spread newspaper over your work space. Assemble your tools and supplies.
2. Mix – pour grout into the bowl and begin to add water. A little at a time. Grout is like icing sugar, if you add too much water you have to add more icing sugar. Stir, adding small amounts of water until the grout is the consistency of peanut butter. Do not over stir because you do not want to add air bubbles into the grout.
3. Leave it to slake. The grout needs approximately 10 minutes for the chemical reaction to take place.
4. After 10 minutes stir once more.
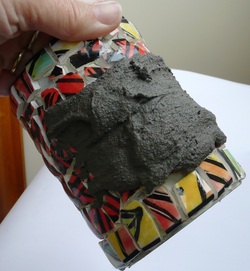
5. Spoon the grout onto your piece. Use a sponge or cloth to spread the grout into the gaps between the tesserae. Be sure to fill all the gaps.
6. Wipe off the excess grout from the top of the tiles using a dry foam sponge. Many people will tell you to use a damp sponge but if the sponge is too wet the grout will turn to mud. I find it is better to use a dry sponge. Keep turning the sponge over to use a clean side. When all sides have been used put it in the bucket of water and use a second sponge if necessary.
7. Once all the excess grout has been removed from the top of the tiles wait for approximately 10 minutes. The grout on the top of the tiles will begin to look powdery, this is the time to polish using the soft cloth. Be careful not to drag the grout out from between the tesserae.
8. Wait an hour and give your piece a final buff.
